For Christmas this year, I decided to crochet a snowflake ornament for all of our friends and family. In case anyone wanted to make one for themselves or as gifts for others, I decided to write out the pattern as well as film a video of how to make the ornaments. I freehanded these initially, but they are really easy to make and are worked in only 3 rounds.


I love crocheting because you don’t need a lot of money to get into the hobby, and I enjoy making things with my hand. From toys to clothes, there’s really no limit to what you can crochet. I hope you give these snowflake ornaments a try.
Check out the video coming soon for a tutorial of how to make the DIY Christmas Gift: Crochet Snowflake Ornament! Save this as a pin for later, on Pinterest.

What You’ll Need
I’ll link to all of the items that I’m using below.
Starting the Crochet Snowflake Ornament
To begin, bring the yarn through the ring from back to front leaving a tail a few inches long. Hold both sides of the yarn in your left hand.
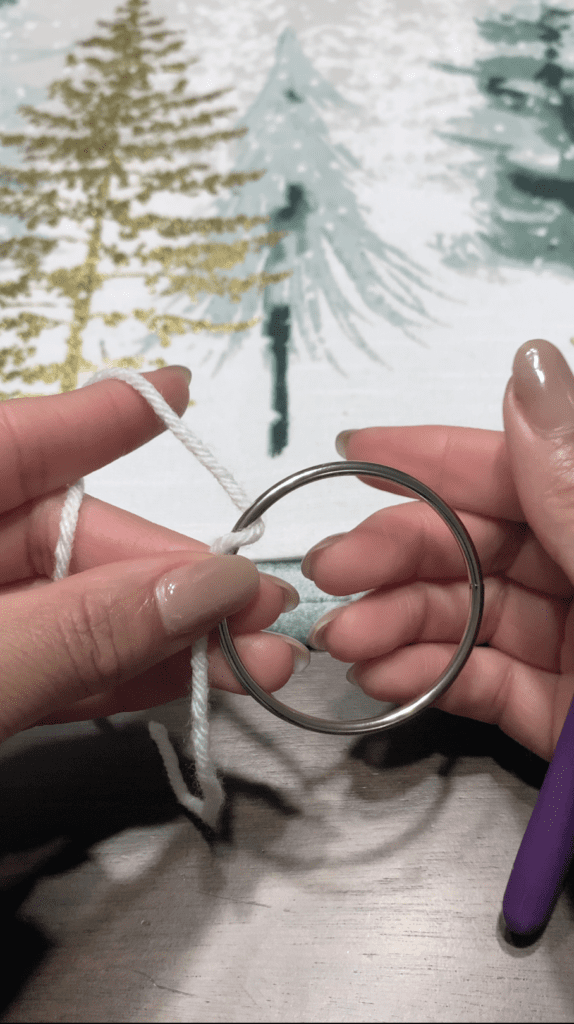
To make the starting knot around the ring, take the hook in your right hand and insert the hook through the ring from front to back. Coming up from behind, grab the yarn with the hook, pull the yarn down and through the front of the hook and pull up.
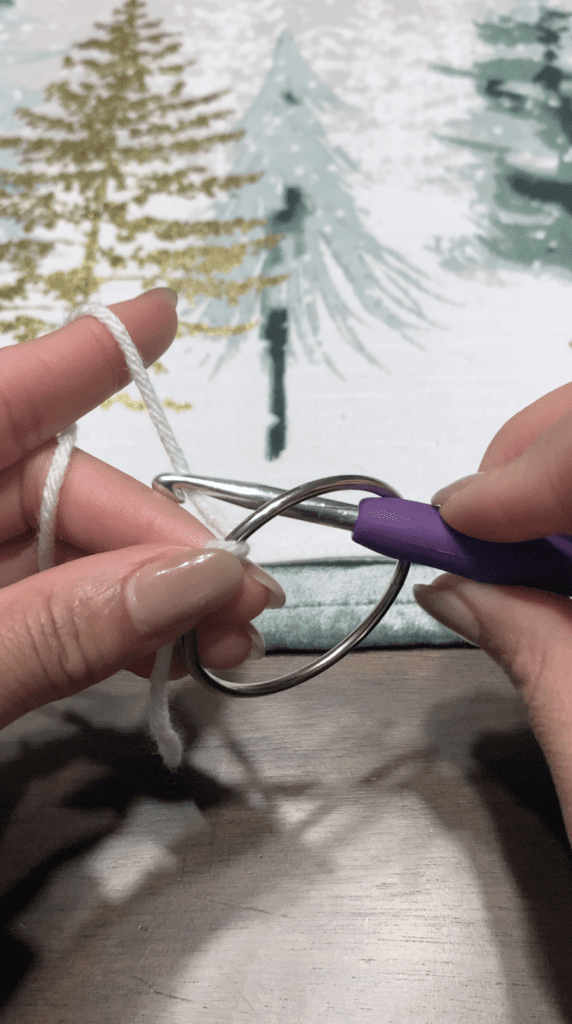
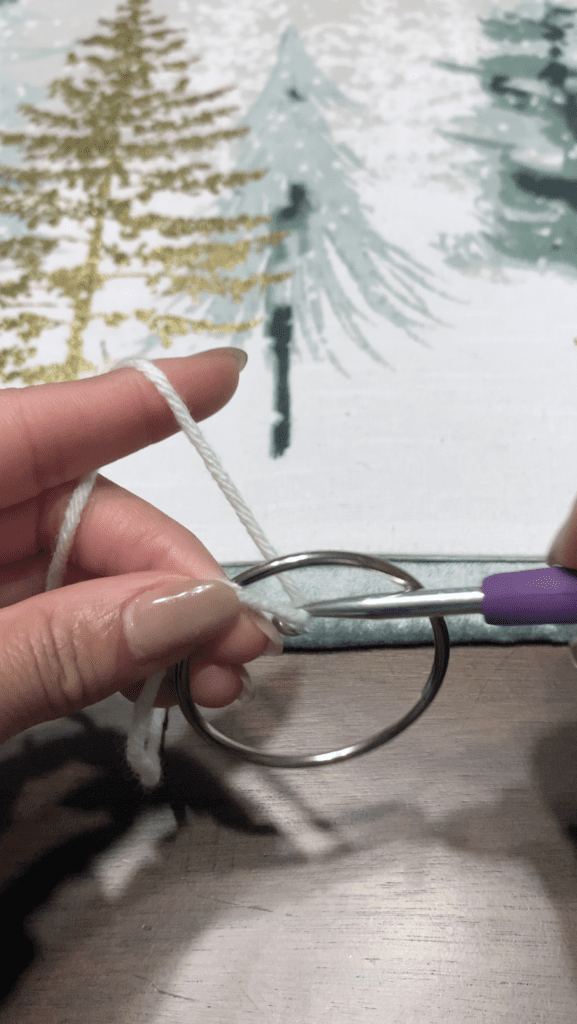
Yarn over, and pull through the loop made at the top of the hoop. Now, we will begin making the 30 single crochets. (The knot just made does not count as a single crochet)
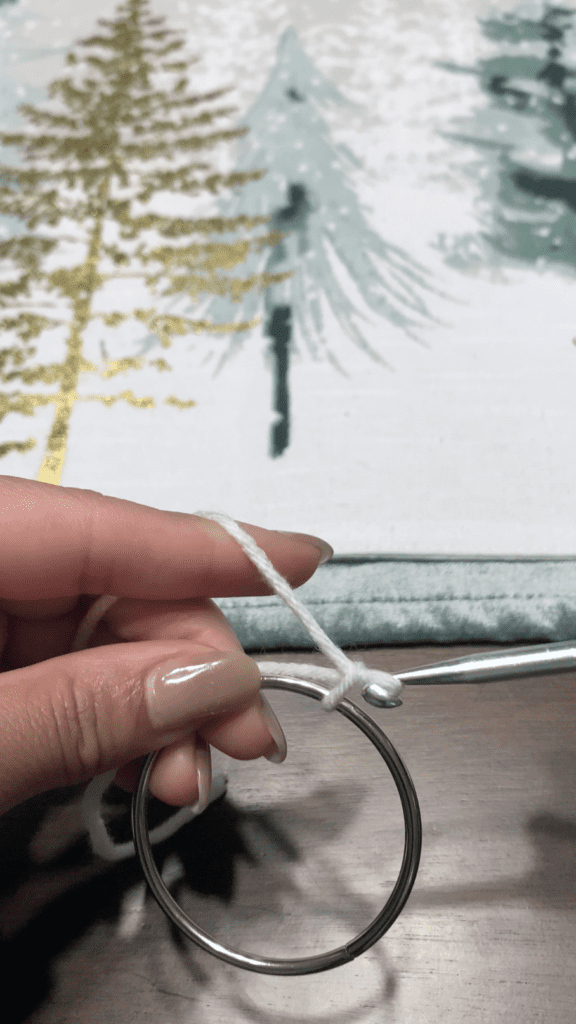
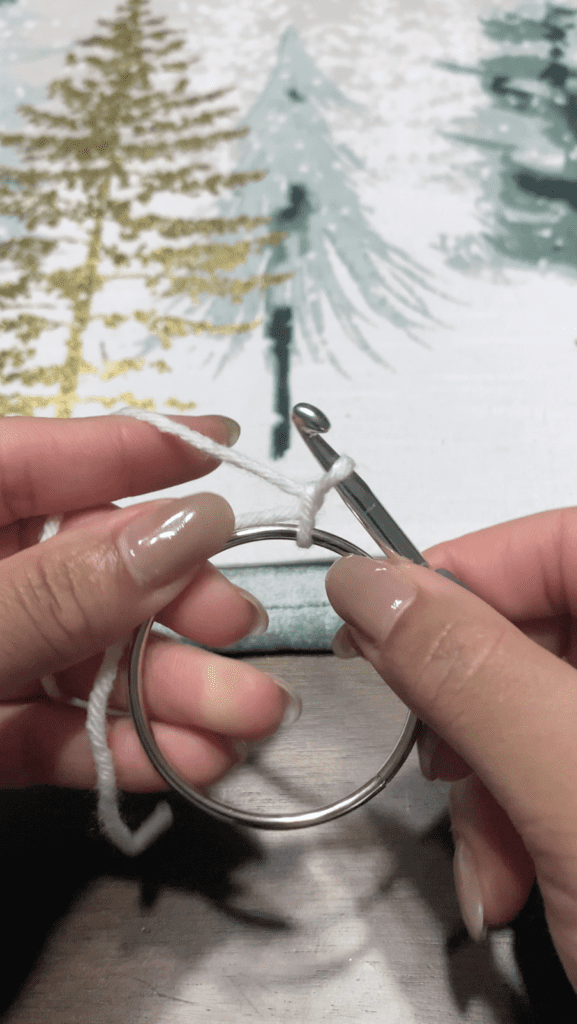
For further help, I’ve added some pictures for reference.
Round 1: Single Crochet Round
- Step 1: 30 single crochet (the knot does not count as a single crochet), slip stitch to the first sc.
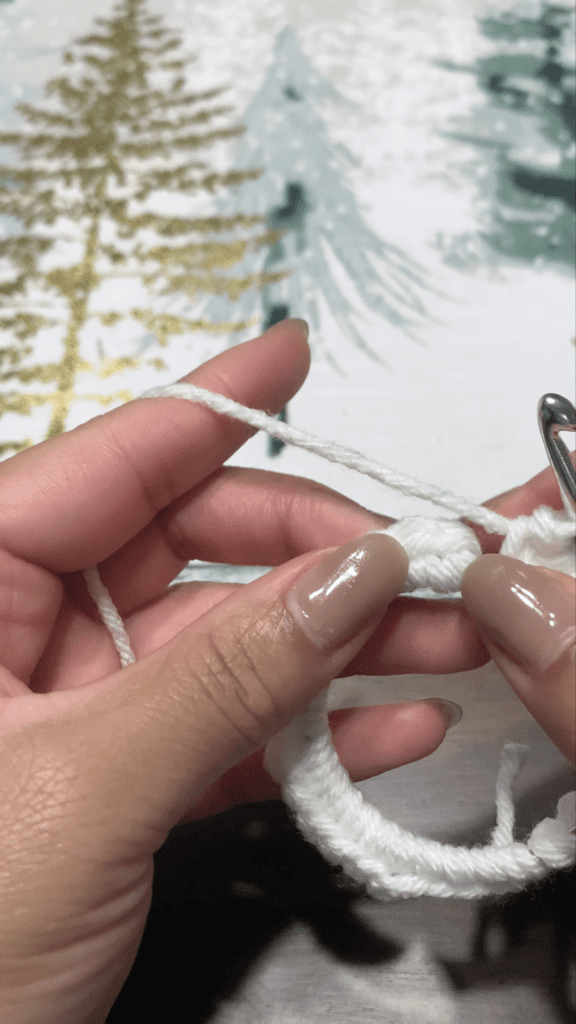
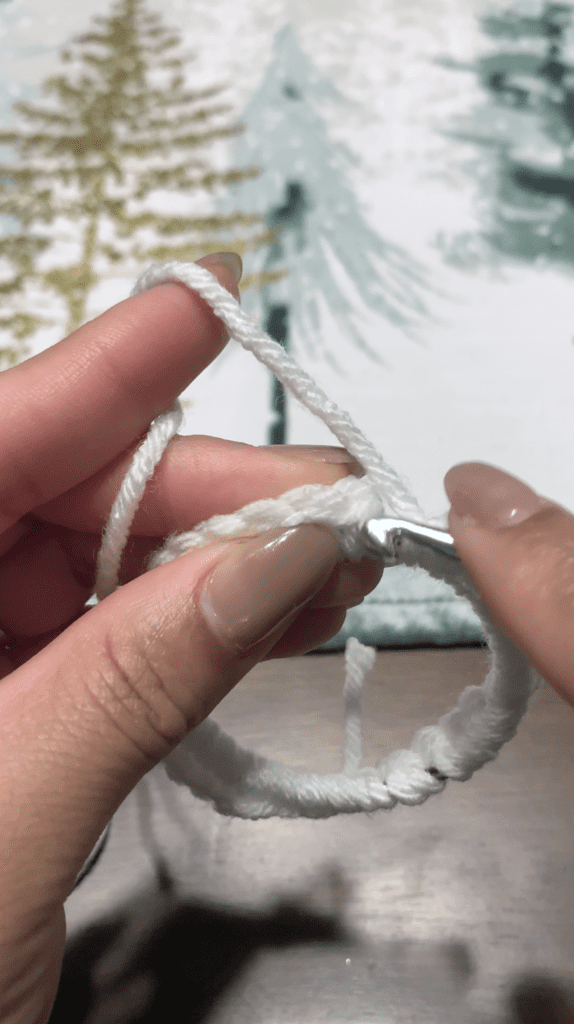
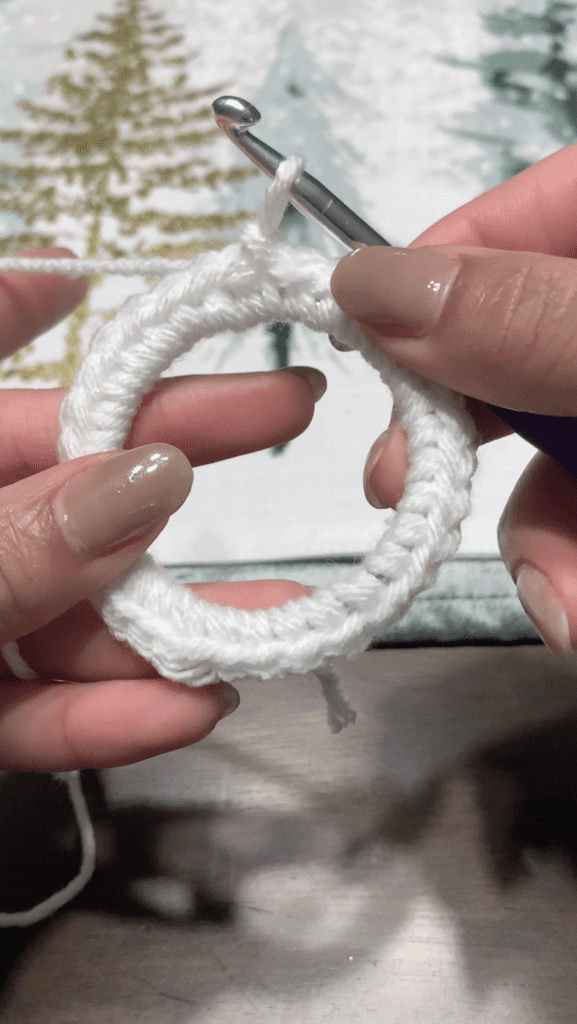
Round 2: Double Crochet Round
- Step 1: Chain 2 into the same stitch that you slip stitched into
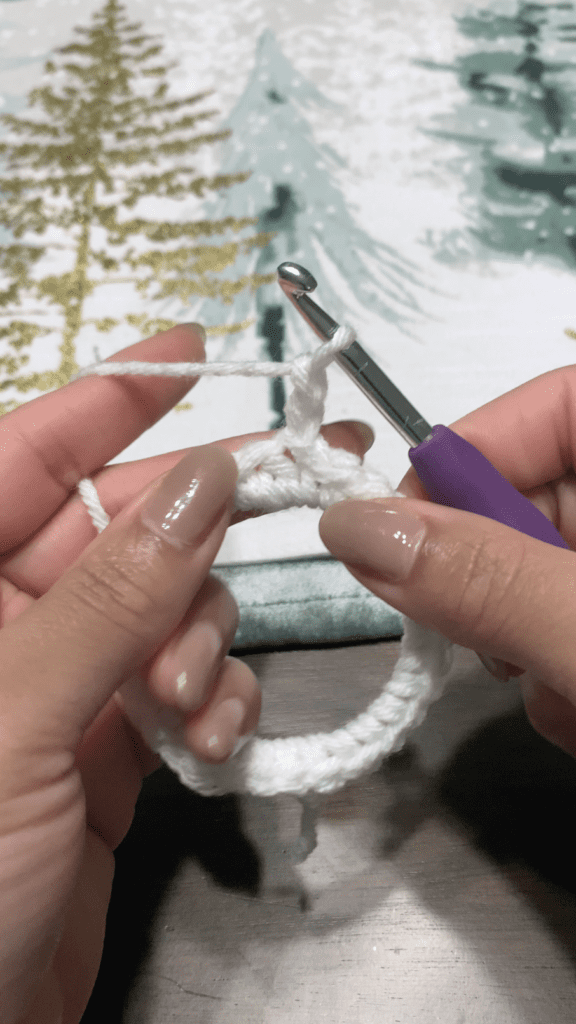
- Step 2: Make a double crochet into the next stitch, chain one and skip the next stitch. The chain one will create a large space that we are going to work in in the next round.
- Repeat: Make a double crochet into the next 4 stitches, chain 1, skip the next stitch x4
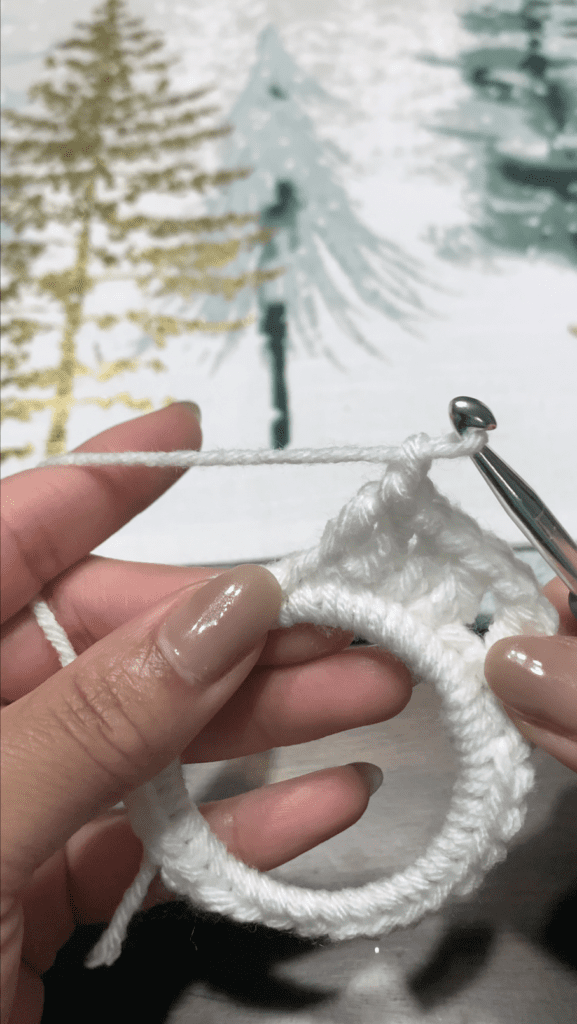
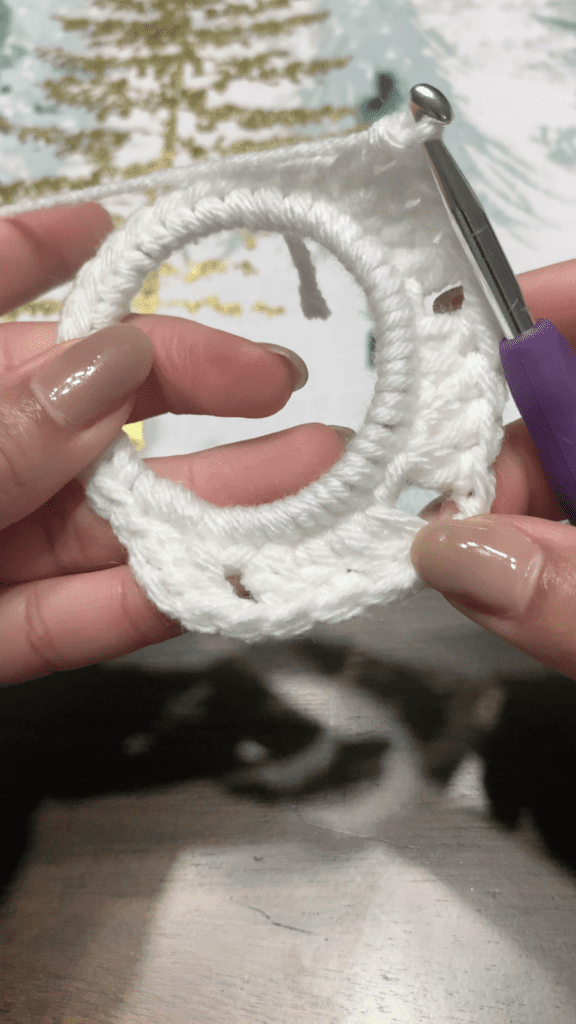
To finish the round, make a double crochet in the next 2 stitches and then slip stitch into the top of the chain 2 that you started the round with.
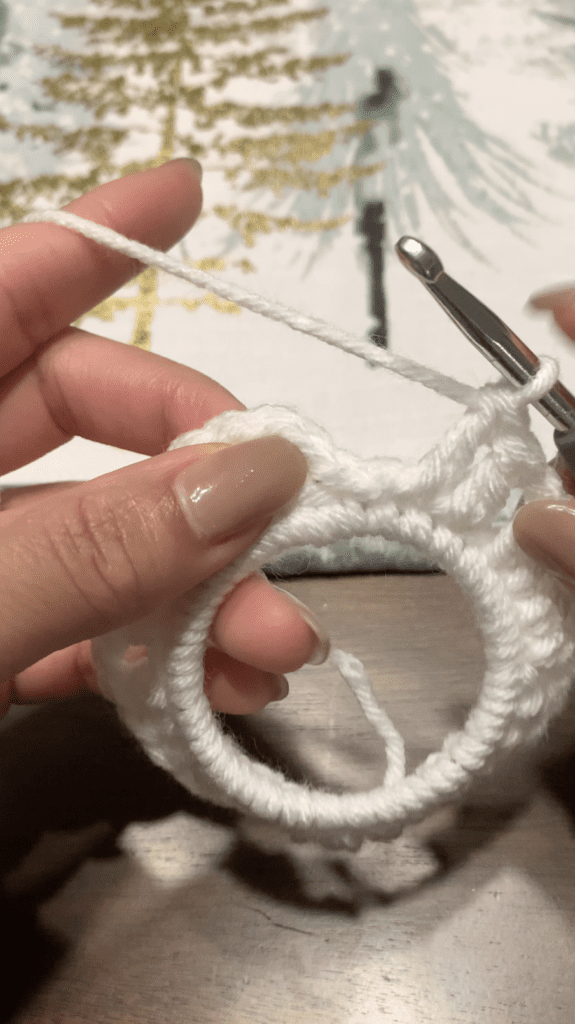
Round 3: Cluster Round
The final round starts in the same stitch that you just slip stitched into. This round is the most complicated of all, but once you’ve done it you’ll realize it’s actually super simple.
This is the repeat for the cluster round.
- Step 1: Make a single crochet into the stitch, chain 3 and make a single crochet into the same stitch.
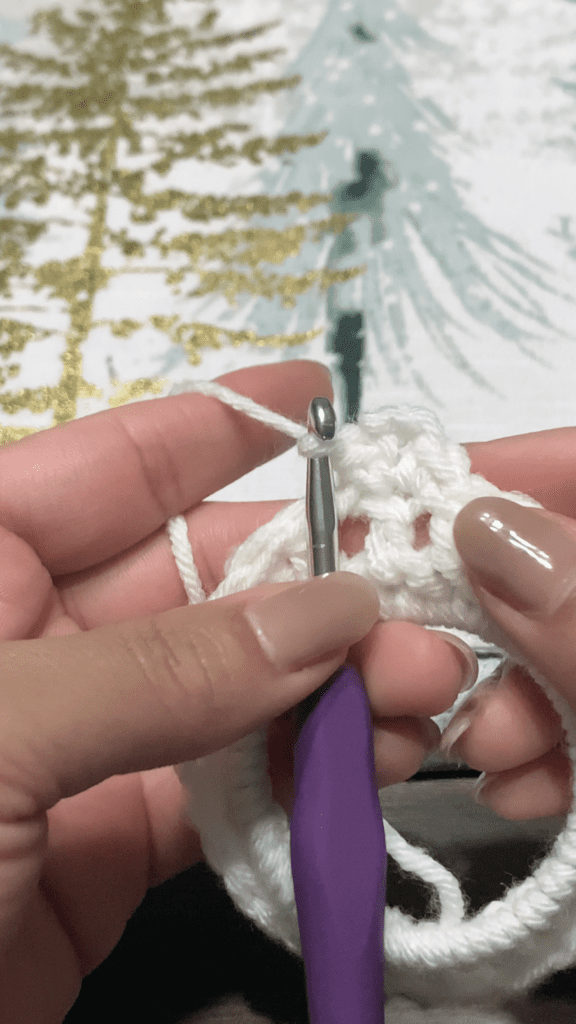
- Step 2: We will now work into the large chain 1 space from the previous round, this is where we will begin our cluster. Make a single crochet into the large space and chain 5. Slip stitch into the base chain of the chain 5. Single crochet into the large chain 1 space.
- Step 3: Chain 7 and make a slip stitch into the first chain made. Single crochet into the large chain 1 space again.
- Step 4: Chain 5 and slip stitch into the first chain made. Move over to the next stitch and make a single crochet.
- Step 5: Chain 3 and make a single crochet into the same stitch.
- Step 6: Slip stitch into the next stitch and that ends the repeat.
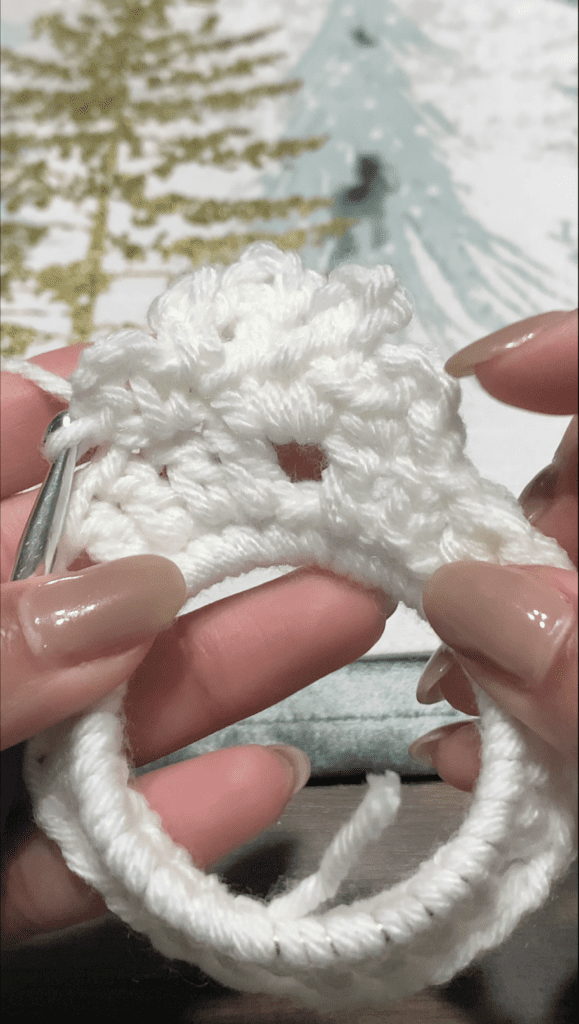
Continue into the next stitch with your single crochet from step 1. It may help to visualize the clusters like so: chain 3,chain 5, chain 7,chain 5, chain 3 ,slip stitch, repeat.
Once you reach the final 6th cluster, end with your chain 3 sc and finish off by slip stitching into the final stitch.
Fasten off leaving a long tail.
Weave in your ends and cut and you’re finished!
Finished Results
At this point you can seal the ends if you like and decorate the snowflakes further with ribbon or bells, or leave them how they are! The snowflakes are really easy to make and you can knock one out in 15 mins if you’re an adept crocheter.
Because of how simple and quick they are to make, these crochet snowflakes make a great DIY Christmas decoration or DIY Christmas gift. Decorate these crochet snowflake ornaments however you like! Get your kids involved and decorate with puffy paint, glitter, pictures of the kids, etc.
I hope that you give these crochet snowflakes a try. If you did, leave a comment below or send me a picture of your finished result to the Facebook Page!
Follow the Pinterest page for more craft ideas.
Be on the lookout for more craft tutorials in the future.
For toddler activity posts click here.
For mom talk blog posts click here.
Until next time.


